Last year I found myself learning how to refine precious metals- that is the chemical process of separating impurities to end up with 99.9% pure metal. So far, I have been successful with Gold, Silver, Platinum and Palladium. It is an incredibly interesting process, but not one I would recommend you try yourself without considerable learning on the subject!
For my Daughter Lily’s 12th birthday, I decided to make a cast silver pendant from silver we had refined together. Using one of the oldest methods of casting with cuttlefish bone, gave a lovely pendant which she treasures dearly. But this year for her 13th, I thought I would give her something a little more special.

Lily's 12th birthday Silver pendant
The first step was to gather the metals I needed for the project- some gold nuggets we found together on a recent trip, some gold we had refined together last year, a natural copper nugget also found last year and lastly some silver refined from old pre decimal coins I had detected over the years.

The raw materials
I wanted to create a 13ct gold ring to celebrate this special birthday. I calculated the amount of 24ct gold I had with the above-mentioned pieces, and then added the right amount of Copper from the natural nugget, then the silver refined from the coins. This was melted and alloyed together to produce a 13ct gold that is just slightly on the rose colour side of the spectrum.
For those wondering how carats (ct) work with gold- it is simply a measure of how much pure gold is in the object. The scale goes from 1 to 24(pure), so If you have a 9ct gold ring for eg, it simply has 9/24 parts gold. To work out how much gold is in that ring, say it weighs 3grm, we do 3 divided by 24 and times that by 9; in this case the answer is 1.125grm of pure gold.
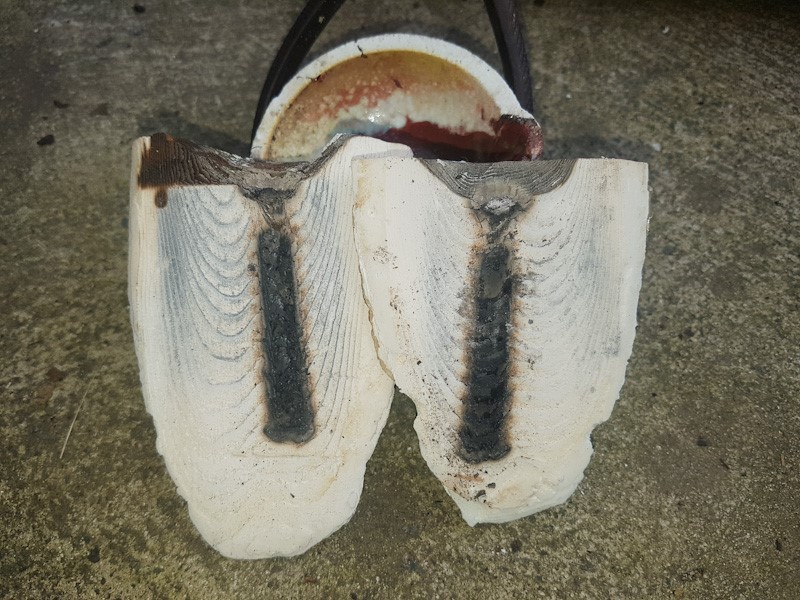
Next I needed the Cuttlefish bone (pet shops are great for this!). I chose several thick pieces as the first attempt rarely succeeds! Cutting the pieces in half across the middle, each half is then sanded on a flat surface so the 2 halves can be pressed perfectly flat against each other to use as the mould. The ring is to be made from a flat strip, so the cavity carved into the cuttle bone was nice and simple. Once happy with that, a funnel is carved in just above the main design to allow the metal to pour in just a bit easier. The 2 halves are then placed together and secured with wire ties.

Cuttle bone after casting

The casting tools
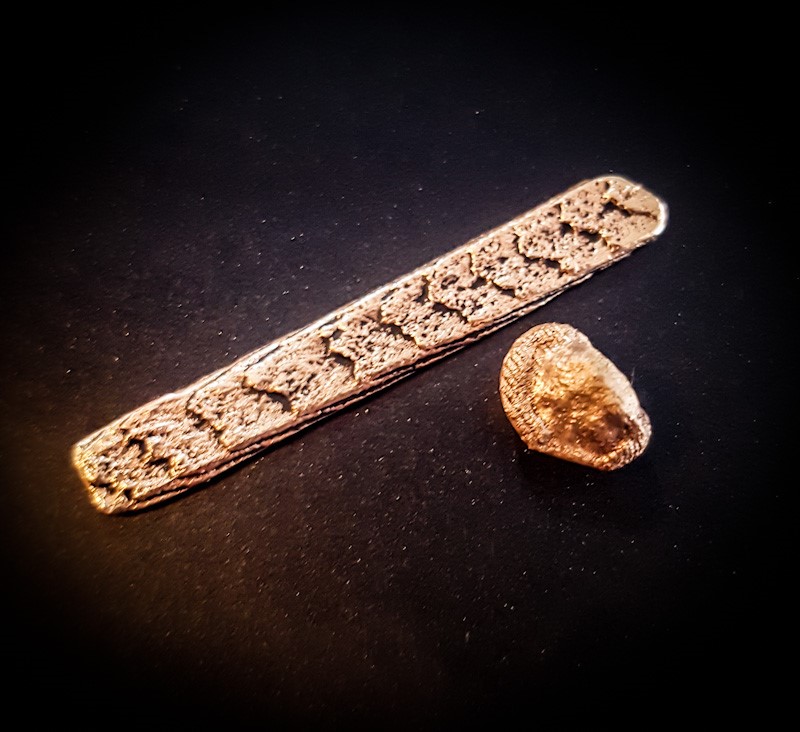
The gold is then melted with a mapp-gas torch in a small jewellers crucible till is molten enough to pour easily. I was surprised that the first attempt actually worked perfectly and left enough gold left over to make a second piece!
I cleaned up the piece with jewellers’ files and gave it a rough polish.
This is where I will leave it for now, I will be casting another piece soon and will bring you an update of the finished product!


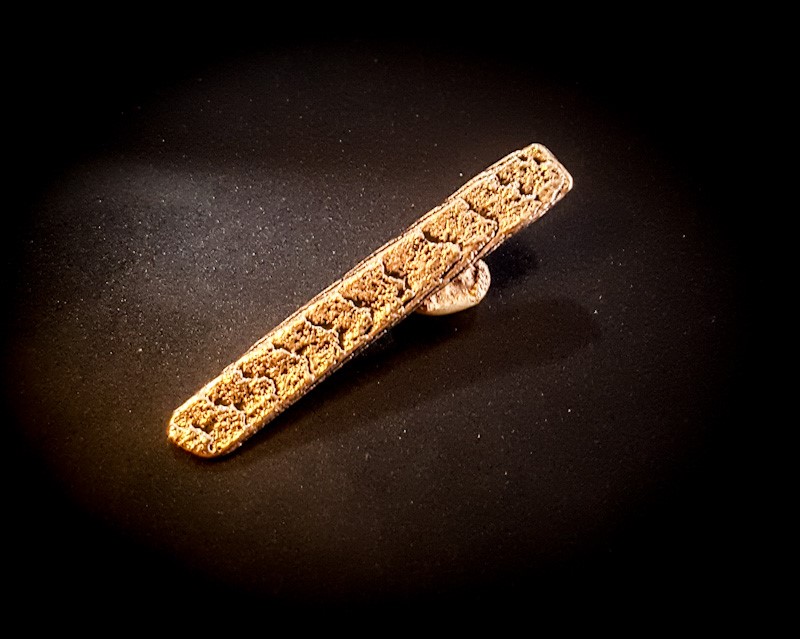
The semi finished piece


